场景简介
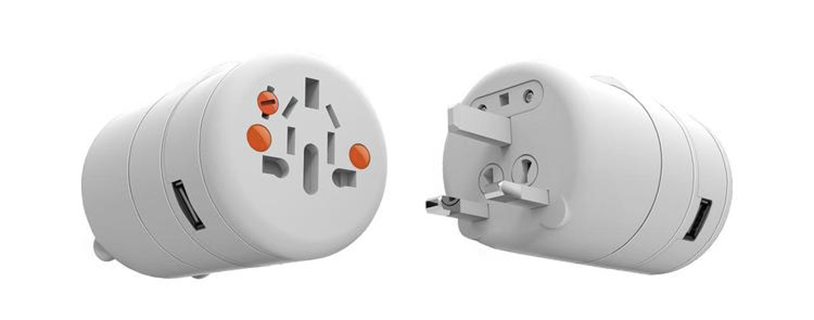
最近,隔壁的王大哥带着孩子去国外旅行,带了数码相机,手机等各种电子设备,期盼着与孩子有一次难忘的旅行;然而到了入住的酒店,王大哥傻眼了!!数码相机没电了,正当要充电时发现当地的电源插口跟自己的充电器插头不匹配,只能给当地的设备充电,却不能给自己的设备充电,这可如何是好?
适配器模式

聪明的同学已经想到,他需要一个电源适配器;而我们工作中的用到的适配器模式与此类似,目的是把一个类或者接口适配成用户期待的,将原本不能在一起工作的接口或者类适配成可以在一起工作。通常在适配器模式中有如下几种角色:
- Target 目标类
- Adaptee 被适配类
- Adapter 适配器类
清楚了适配器的定义,您可以思考一下在以上提到的王大哥的例子中,这些角色分别对应的是什么?
代码示例
接下来我们从代码层面理解一下适配器模式。
首先,定义LocalDevice当地设备类
public class LocalDevice {

    protected void doLocalCharging() {
        System.out.println("doLocalCharging");
    }

}
其次,定义Power电源类
public class Power {
    //定义静态充电方法
    public static void charging(LocalDevice device) {
        device.doLocalCharging();
    }
}
然后,定义OtherDevice其他设备,以及CameraDevice照相机设备
public class OtherDevice {

    public void doOtherCharging() {
        System.out.println("doOtherCharging");
    }

}

public class CameraDevice extends OtherDevice {

}
最后,我们来定义设备DeviceAdapter适配器
public class DeviceAdapter extends LocalDevice {

    private OtherDevice device;

    public DeviceAdapter(OtherDevice device) {
        this.device = device;
    }

    @Override
    protected void doLocalCharging() {
        device.doOtherCharging();
    }

}
DeviceAdapter继承LocalDevice,并支持OtherDevice类型的成员变量,以此来支持OtherDevice;当然具体在实现适配器的过程中您也可以通过定义接口,实现接口,或者继承等方式,本案例用于简单的说明。
演示类如下:
public class Demo {

    public static void main(String[] args) {
        Power.charging(new LocalDevice());
//        Power.charging(new CameraDevice());//不支持其他设备,编译错误
        Power.charging(new DeviceAdapter(new CameraDevice()));
    }
}
如此一来,我们便通过适配器,使得原有的电源支持我们的设备了。
总结
以上是一个简单的案例用于说明该设计模式,在日常的开发工作中这种设计模式也是经常遇到的,也许没有引起您的注意;例如:在Java IO中,就是便是利用适配器模式将字节流适配成我们常用的字符流。

- 本文链接: https://www.sunce.wang/archives/设计模式之合而适之的适配器模式
- 版权声明: 本博客所有文章除特别声明外,均采用CC BY-NC-SA 3.0 许可协议。转载请注明出处!